
In this blog post, I’ll show you how to set up an Amazon EC2 instance with a Nginx web server using the user data field in the EC 2 instance setup wizard. Prior to delving into the detailed instructions, let us familiarise ourselves with the following:
Table Of Content
What is Nginx?
Nginx (pronounced “Engine-X”) is open-source web server software that can also be used as a load balancer, reverse proxy server, mail proxy server, HTTP cache, etc. Nginx is compatible with multiple operating systems, including Linux, Windows, and macOS, and it is commonly used alongside popular web technologies such as PHP, Python, Java, JavaScript (Node.js), or Ruby. In comparison to other web servers, Nginx is relatively easy to install and configure. Igor Sysoev created Nginx, which was first released to the public in October 2004. Igor originally designed the software to address the C10k problem, which is a performance issue when processing 10,000 concurrent connections. Nginx’s scalable and asynchronous event-driven architecture allows for low memory utilisation and high concurrency.
What is the User Data?
During the launch of an instance, you can run various commands and scripts known as “user data.” For example, if you want specific packages or configuration files to be available on the instance after launch, you will require user data. When you launch the instance, the commands you enter in the user data field are executed and the results returned. Amazon EC2 can handle two types of user data: shell scripts and cloud-init directives. You can also enter this data in plain text, a file, or base64-encoded text.
Now that we are familiar with the concepts, we will dive into the installation of an EC2 instance with Nginx. Let’s begin!
Login to AWS management console
1. Navigate to the AWS Management Console.
2. Log in using your AWS account credentials (using an IAM account will be a good practice).
Launching an EC2 Instance
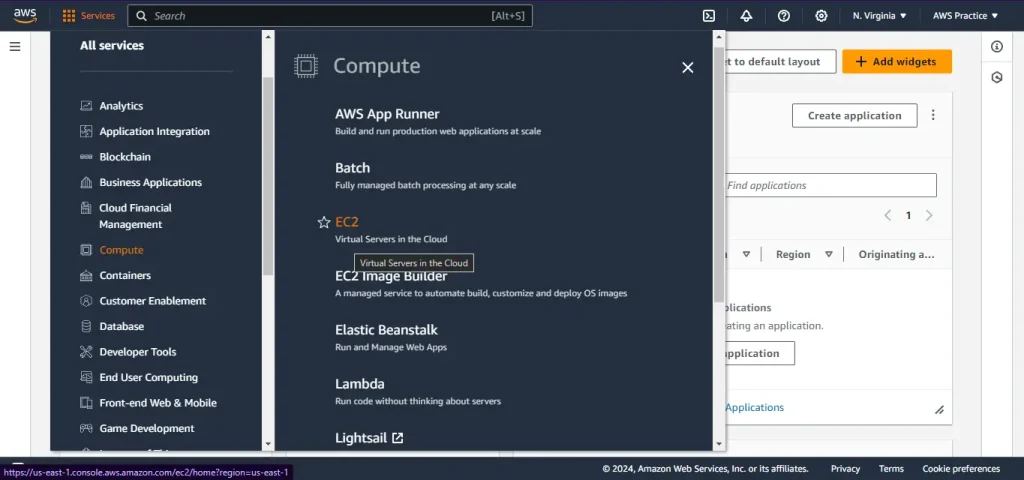
1. To access the EC2 service in the AWS Console, click Services in the upper left corner and then EC2 under the Compute section or use search bar to search EC2.
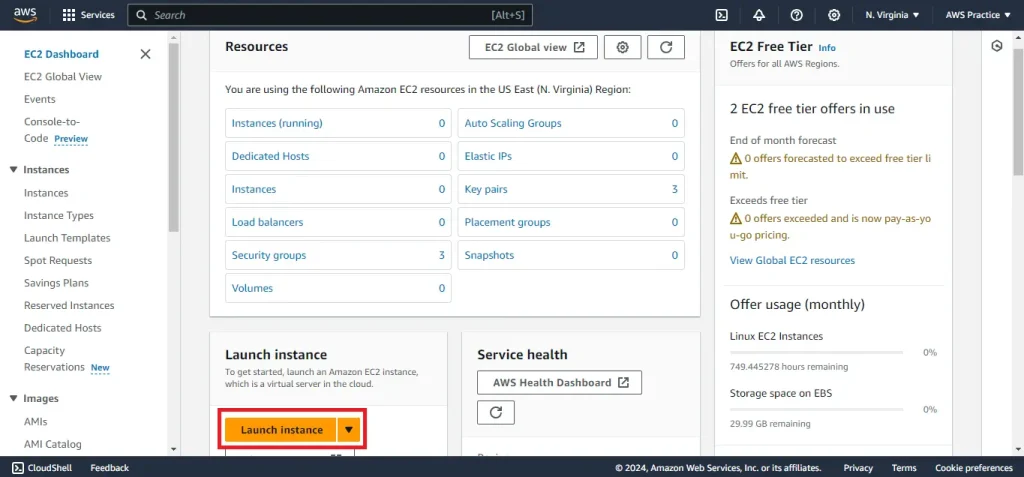
2. To create a new EC2 instance, click the “Launch Instance” button.
Configuring the EC2 instance using the setup wizard
1. Give a name to the instance.

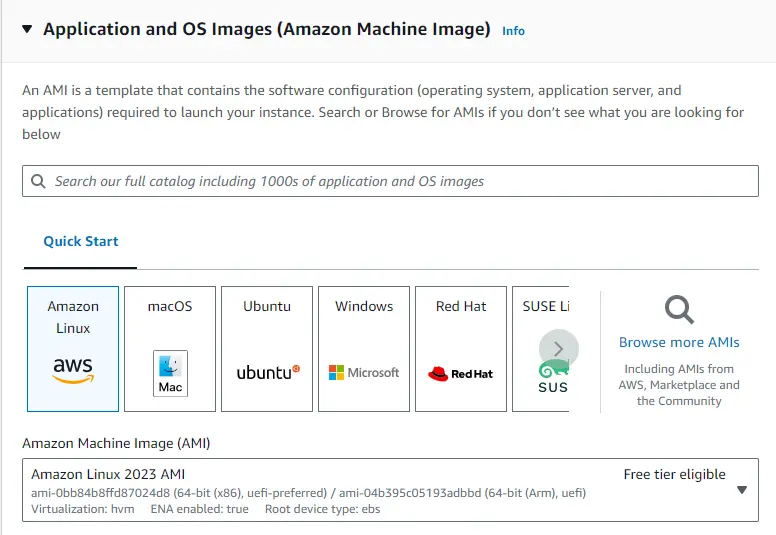
2. In Application and OS (AMI), select the Amazon Linux.
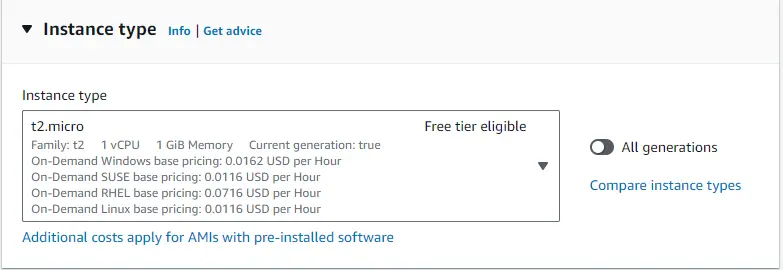
3. Select t2.micro as the instance type.
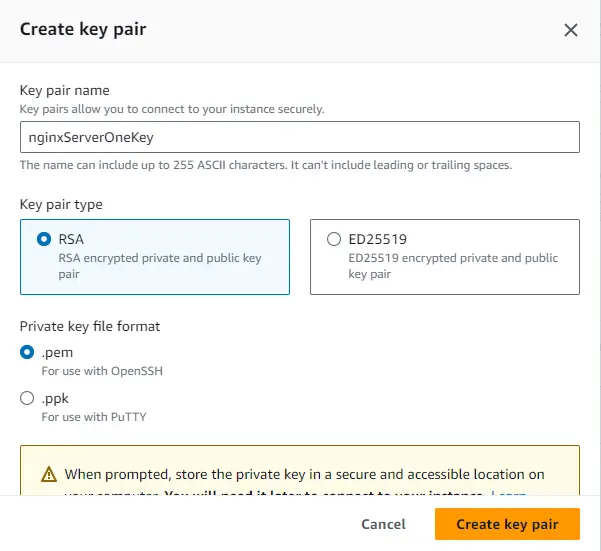
4. Create a key pair. (Key pair will help us to access the instance using SSH in future. Please don’t forget to download it, as it is only available once.)

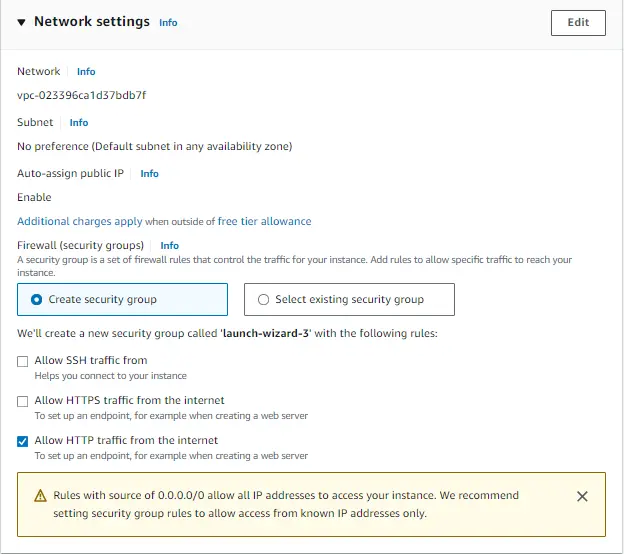
5. Create a security group for the instance and configure it to allow inbound HTTP traffic.
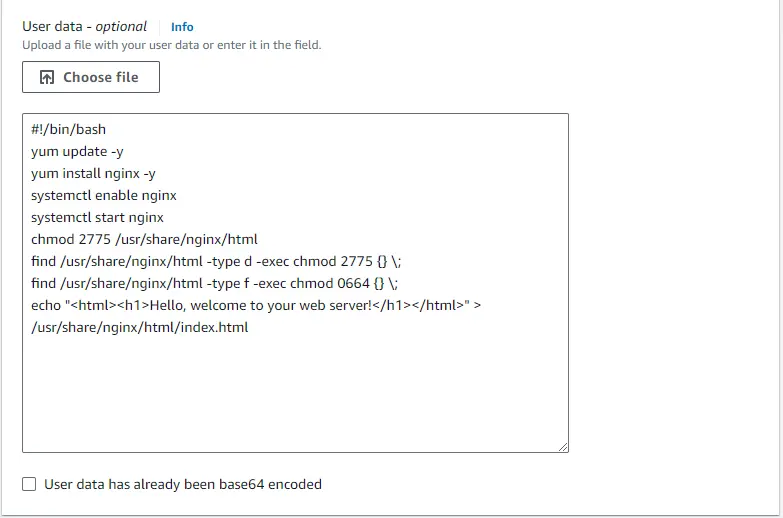
6. Now scroll down to the Advance details section of the Instance configuration wizard and click on the drop-down. Scroll all the way down until you reach the User data field and enter the bash script (given below) required to install NGINX.
#!/bin/bash
yum update -y
yum install nginx -y
systemctl enable nginx
systemctl start nginx
chmod 2775 /usr/share/nginx/html
find /usr/share/nginx/html -type d -exec chmod 2775 {} \;
find /usr/share/nginx/html -type f -exec chmod 0664 {} \;
echo "<html><h1>Hello, welcome to your web server!</h1></html>" > /usr/share/nginx/html/index.html
Bash Script Explained:
#!/bin/bash
This line is called a shebang. It tells the system to use the Bash shell to interpret and execute the script.
yum update -y
This line updates all packages on the system using the Yellowdog Updater Modified (YUM) package manager with the -y flag, which automatically answers "yes" to all prompts.
yum install nginx -y
This line installs the NGINX web server with the -y flag, which automatically answers "yes" to all prompts during installation.
systemctl enable nginx
This line enables NGINX to start automatically at boot time by creating symbolic links in the appropriate system directories.
systemctl start nginx
This line starts the NGINX service immediately after installation.
chmod 2775 /usr/share/nginx/html
This line changes the permissions of the /usr/share/nginx/html directory. 2 sets the setgid bit, 7 gives read, write, and execute permissions to the owner, 7 gives the same permissions to the group, and 5 gives read and execute permissions to others.
find /usr/share/nginx/html -type d -exec chmod 2775 {} \;
This line finds all directories (-type d) within /usr/share/nginx/html and sets their permissions to 2775, similar to the previous line.
find /usr/share/nginx/html -type f -exec chmod 0664 {} \;
This line finds all files (-type f) within /usr/share/nginx/html and sets their permissions to 0664. This gives read and write permissions to the owner and group, and read-only permissions to others.
echo'<html><h1>Hello, welcome to your web server!</h1></html>' > /usr/share/nginx/html/index.html
This line writes the HTML content <html><h1>Hello, welcome to your web server!</h1></html> into the index.html file located in /usr/share/nginx/html. The > operator redirects the output of the echo command to the specified file, overwriting its contents if it already exists.
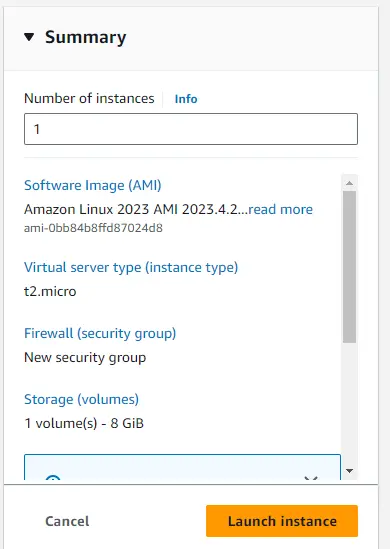
7. Check your instance configuration to confirm everything is OK, then click the Launch button.
Verify Nginx was correctly installed
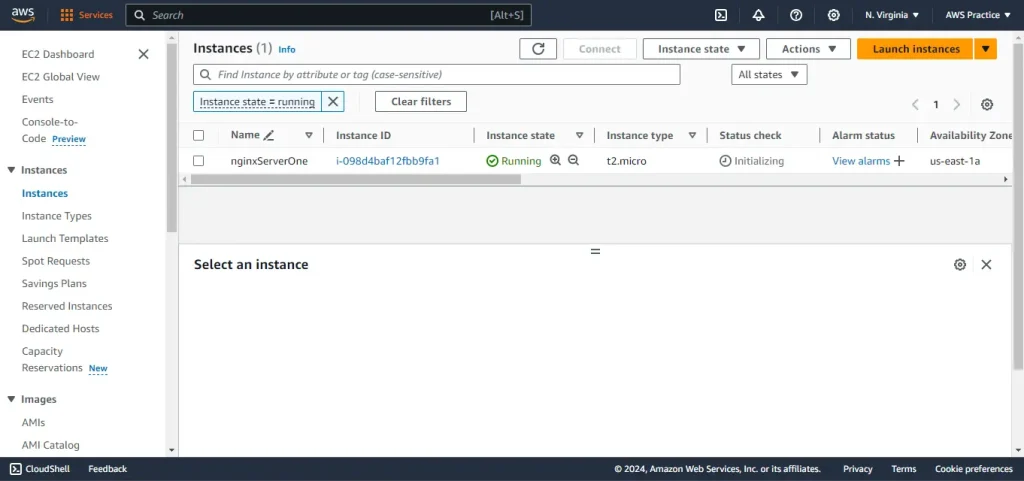
1. Go the instance dashboard and select your created instance.
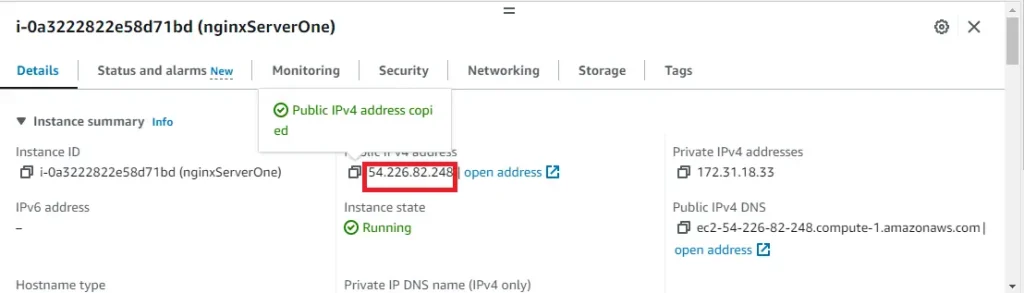
2. In the bottom option in the details section you will see the instance summary, copy the Public IPv4 address.
3. Wait for the status check turn from Initializing to 2/2 checks passed.
4. Open a new tab on your browser and paste the copied IPv4 address.
5. You should be able to see the page as show below.

If you can see the above page, then congratulations you have successfully installed Nginx server on an EC2 instance.
Conclusion
In this blog post, I have demonstrated how to install NGINX on an AWS EC2 instance using User Data. By automating the installation process with User Data, you can streamline the deployment of NGINX and quickly set up a web server to host your applications or websites on AWS. Automating infrastructure provisioning tasks like this can save time and effort, allowing you to focus on building and managing your applications effectively.


